Requestments
NICE DVR is available from version 5.3 of Nice re/streamer
User can choose from 2 modes in DVR setup
1. Nice DVR mode for channel archive and timeshift records for Nice re/streamer.
2. Stalker DVR mode for access existing/working stalker archive.
User can install on remote server or same/localhost Nice DVR module.
* its recommended to install Nice DVR on remote server.
To install NICE DVR you need Ubuntu Server 16.x and up to 20.x versions.
1.Nice DVR for Nice re/streamer.
Nice DVR SSH autoinstall for Nice re/streamer.
From web interface of Nice re/streamer go to Tools -> Config -> WEB management -> Wapi aes key:iv and
PRESS Gen Button to generate your keys.
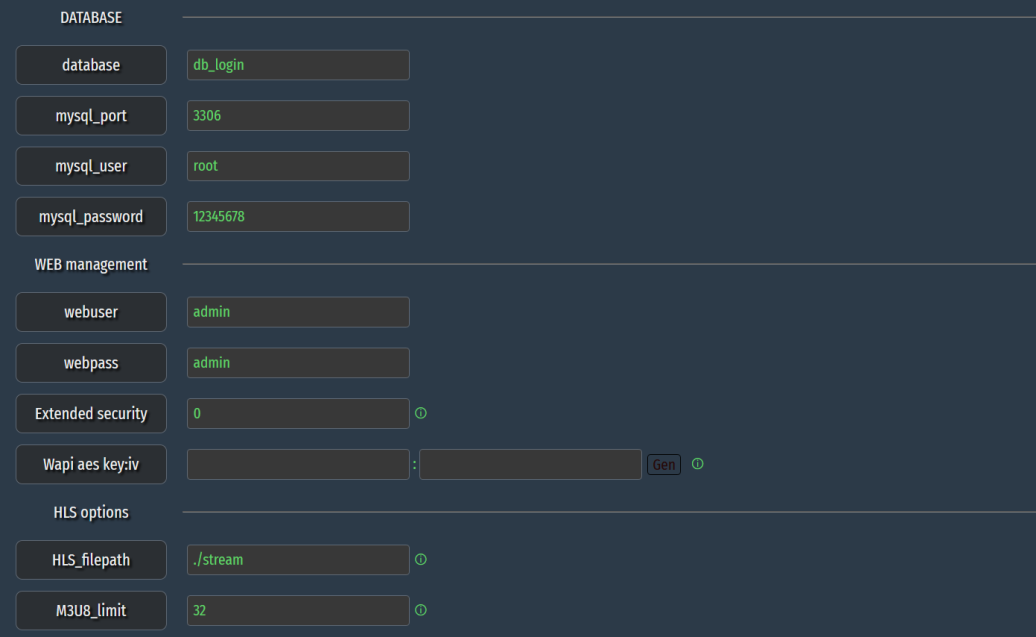
Save and Restart Nice re/streamer
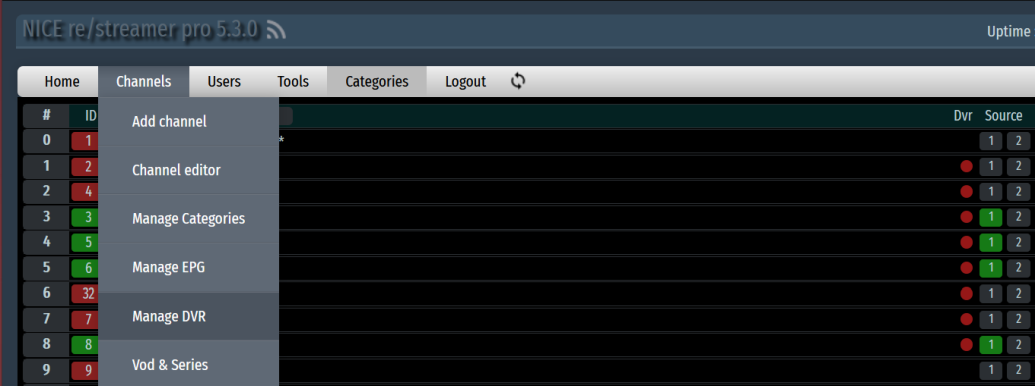
From web interface of Nice re/streamer go to Channels -> Manage DVR.
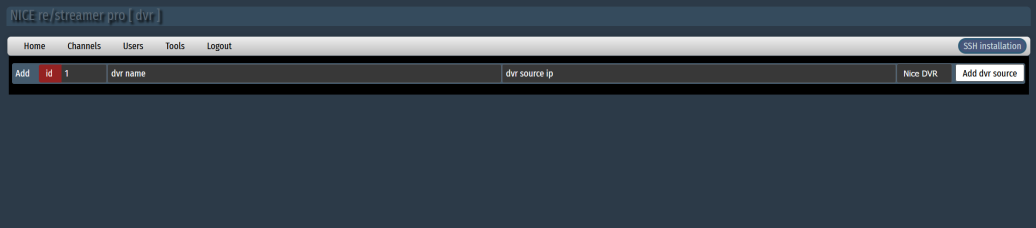
Initiate SSH Install
Press SSH installation button.
This will pop up following menu.
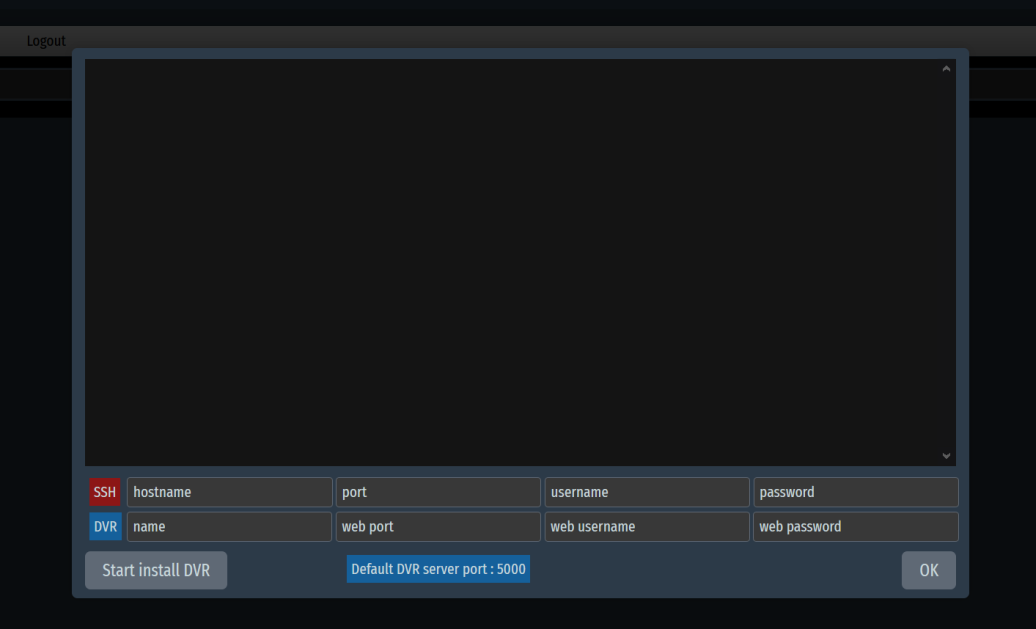
Enter correct details for remote server
* You have to know remote details (user) need to be root,password and (port) ssh default is 22
Choose your DVR name,web port and web user/password.
* remmember web port and web user/password you will need them later to login to your new installed DVR
Hit [Start Install DVR]
Wait installation to finish
DVR Web interface
Installation is done and you now can access your Nice DVR web interface.
enter in your browser destination
http://remote_host_where_did_you_installed:port_you choose_for_web.
Example.
Enter Your login details.
Manage Channels for record and timeshift
At this point no other interaction in remove DVR interface not needed
Nice re/streamer and DVR will interact automaticly when you set channel(s) to dvr
Example.
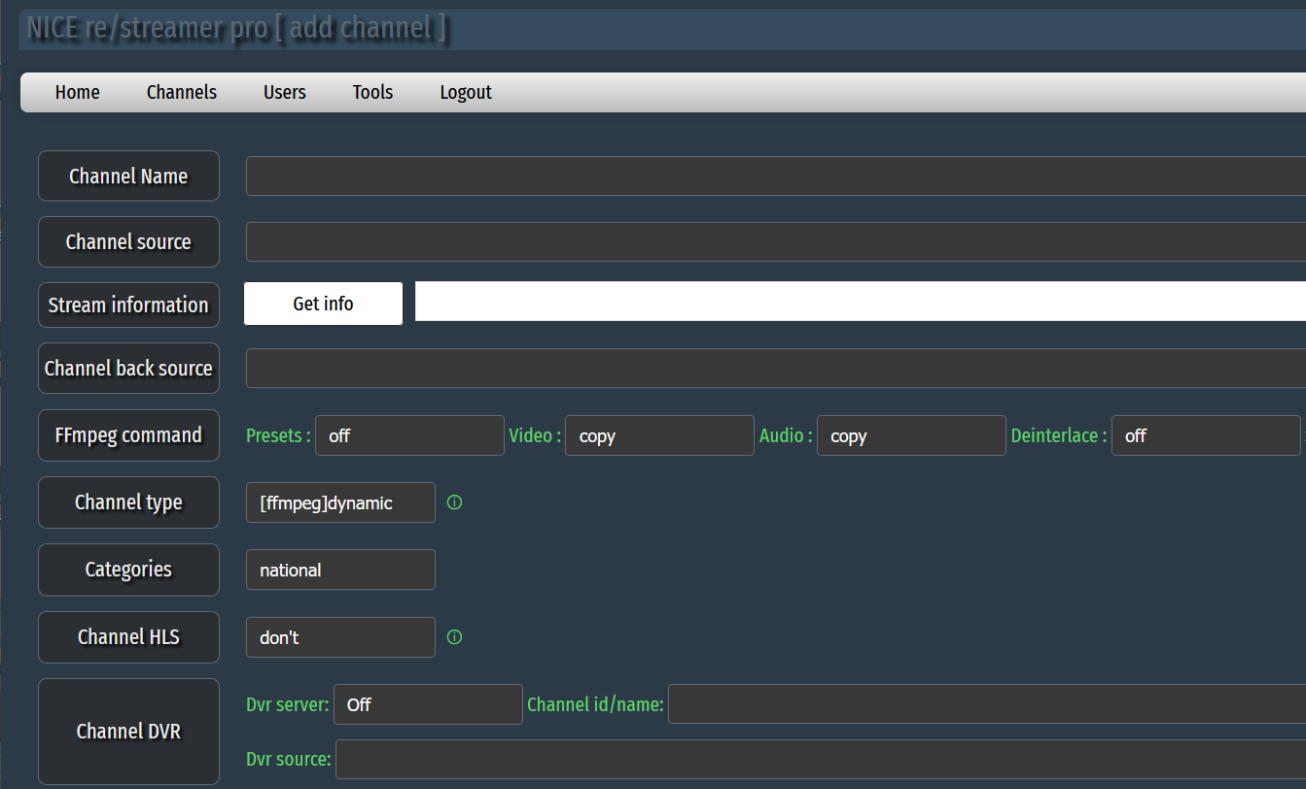
From Channel DVR select at dropdown menu DVR you just installed
From Channel id/name: enter chid what channel have in re/streamer
From Dvr souce: enter souce link for channel which will be used in DVR for record
* if you dont have direct access to link a internal hook can be used
* make a user for hook in your users and set internal link point re/streamer it self! :)
Save
Done
All done, you should notice in web interface of DVR channel populated in some seconds
2.Ministra/Stalker DVR connect
In this mode you can connect working ministra/stalker dvr
From web interface select Channels -> Manage DVR
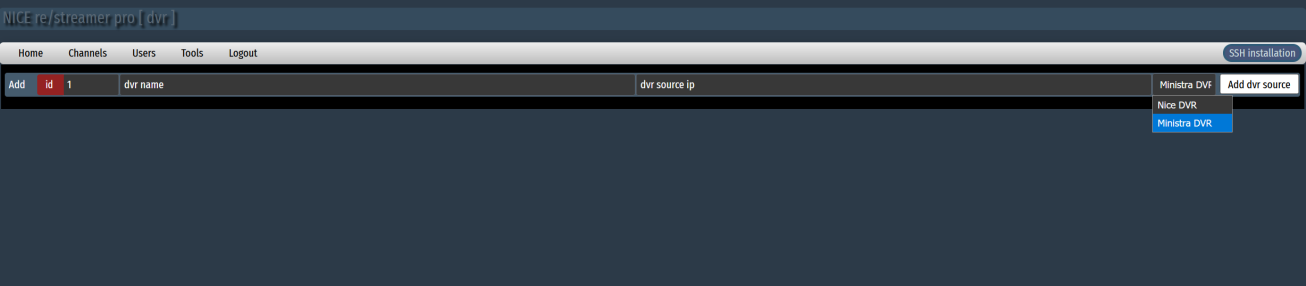
Enter dvr name (you can choose any)
Enter dvr souce ip (have to be valid stalker dvr)
Save
Point to Stalker DVR
Select Add or Edit channel
Example.
From Channel DVR select at dropdown menu DVR you just set
From Channel id/name: enter chid or name what channel have in Ministra/Stalker dvr
From Dvr souce: remains empty in this mode
All done
Final Notes
Nice DVR is in beta/test.
But is in fully working stage.
We continuously will upate and improve functionality
Happy USE.