Guides
Installation, update and removal
One command installs the panel, its services and ffmpeg. The same installer later updates and removes it.
Before you start
- A clean server is best. First run
apt update && apt install -y curl. - The panel runs as a systemd service – containers without systemd are not supported.
- Older systems (glibc below 2.28 – Ubuntu 16.04/18.04, Debian 9) get the matching panel binary automatically.
- The panel needs a license: a 15-day demo is activated on the first clean install (once per server).
1Run the installer
Log in as root and paste:
curl -s https://nice-panel.com/install3.sh | bash -s 5.5Choose Install:
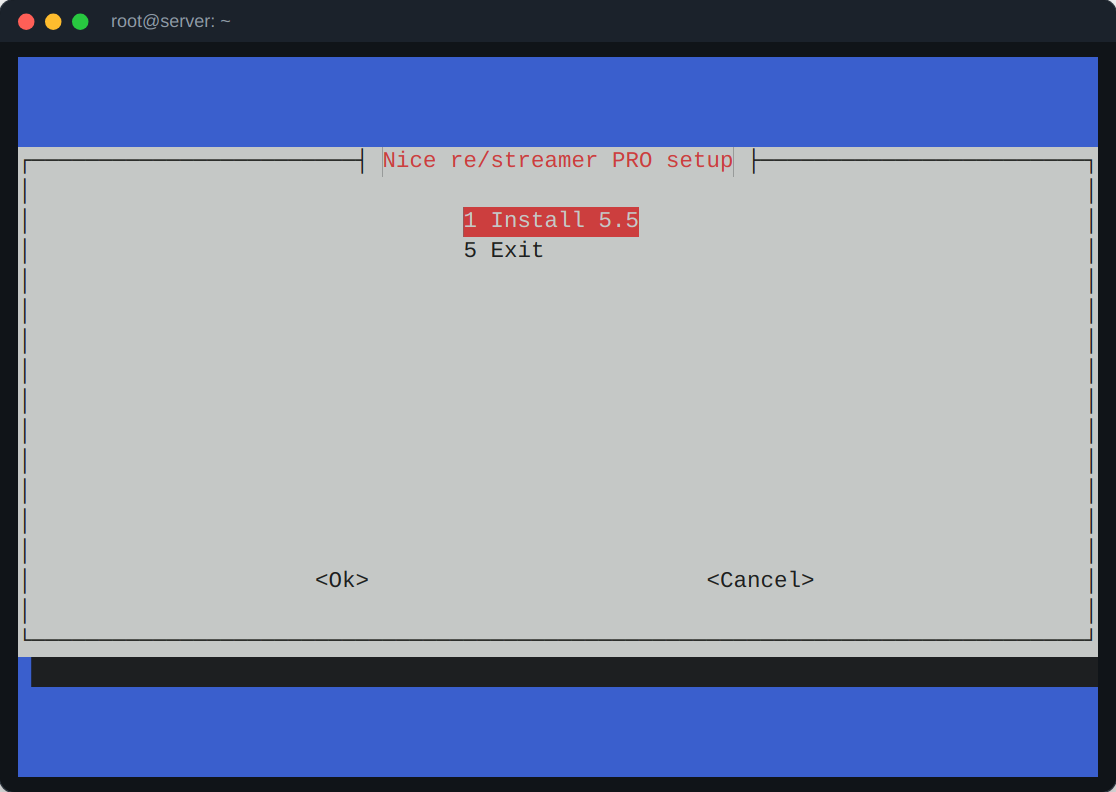
The installer then asks three things:
| Question | What to answer |
|---|---|
| Interface | The IP the panel listens on. Empty = all interfaces (the usual choice). |
| Public address | The IP or host name the subscribers use in their playlists – the server's public address is suggested. |
| Database | Only asked when a MySQL server is already running: built-in database (recommended), copy an old panel's data from MySQL, or keep using MySQL. Without MySQL the built-in database is used – nothing to install. |
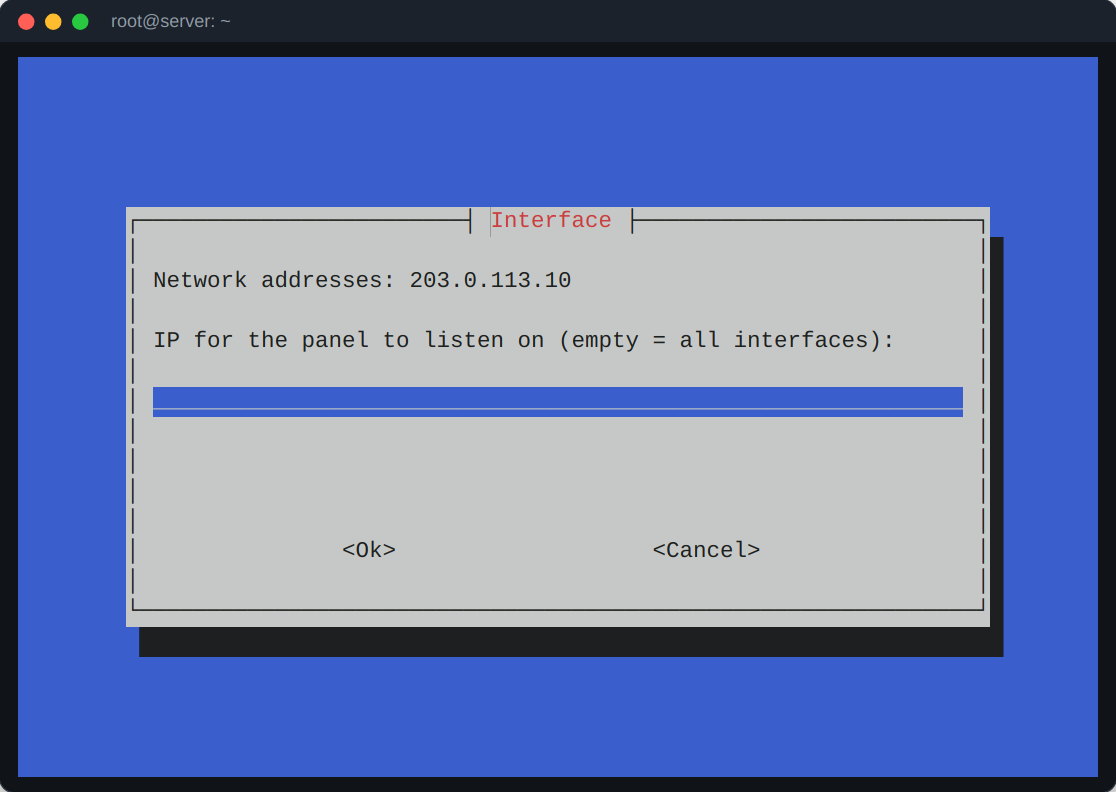
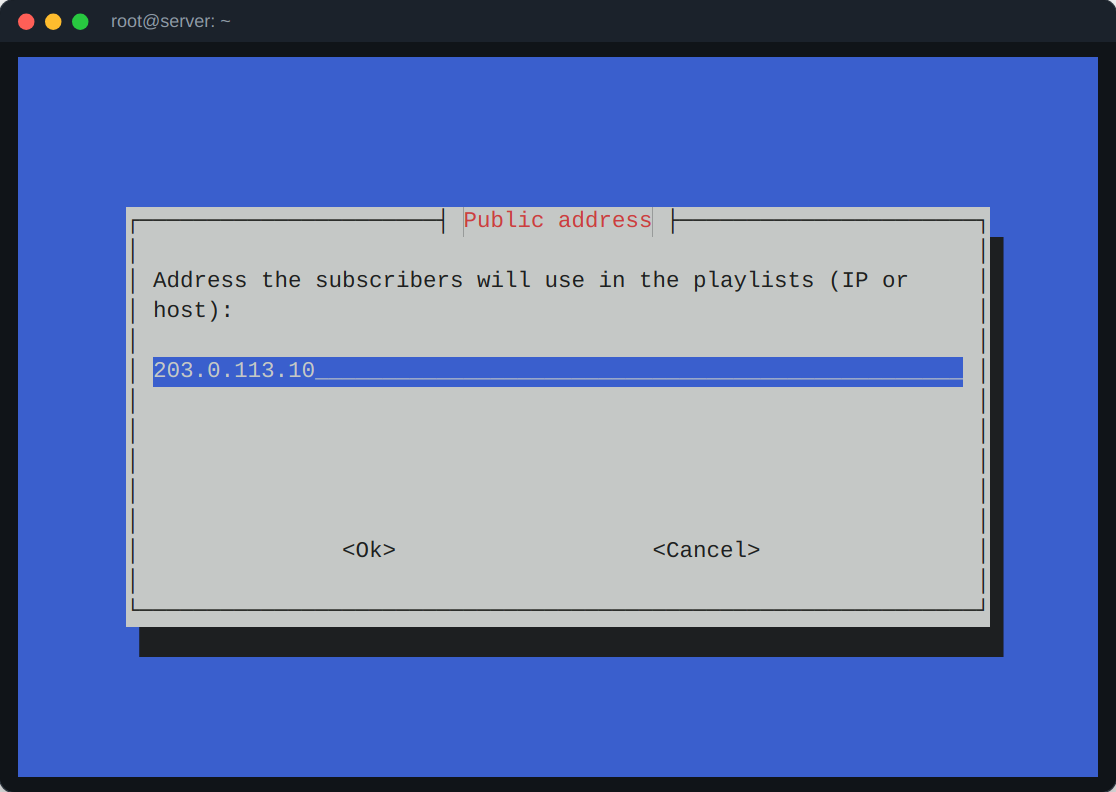
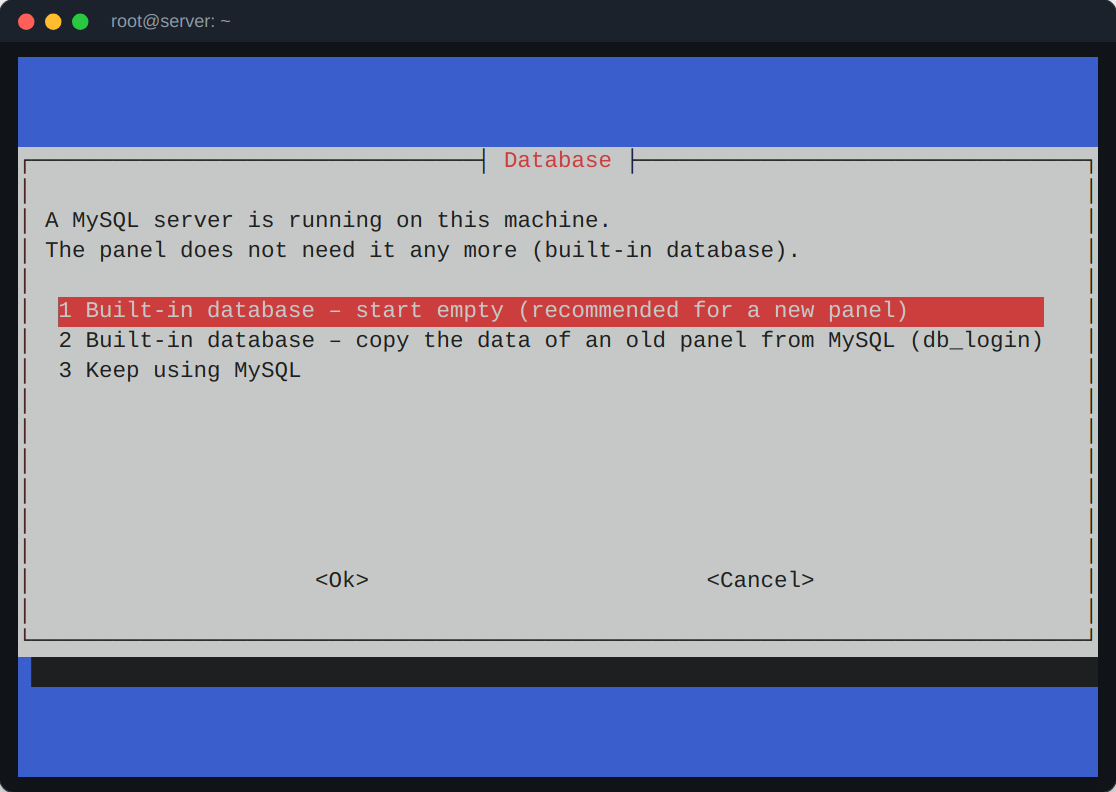
It then installs two packages – nodenice-pro (the panel) and nodenice-ffmpeg (the ffmpeg builds) – creates the settings and starts the services.
2First login
At the end the installer shows the address, the user and the password:
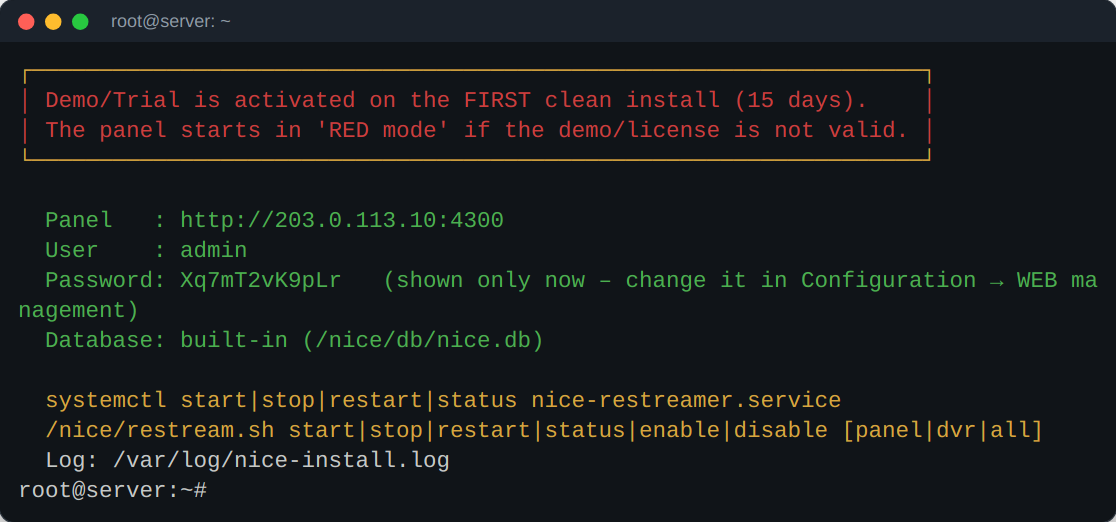
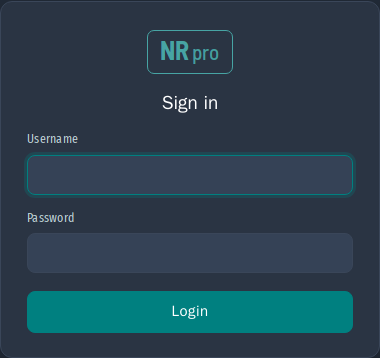
Open http://your-server:4300. The user is admin; the password is shown once at the end of the installation – note it down and change it later in Configuration → WEB management.
- Channels → Categories – create a category, then add channels or import an M3U list.
- Channels → EPG – add an XMLTV source and use Auto-match channels.
- Users → Manage – add subscribers and send them their playlist (see “Playlists and apps”).
- The ? at the right of the menu opens the built-in help for the page you are on.
3Update
Two ways, the same result:
- In the panel: Tools → Update → Update to …. The previous version is kept and can be restored with Restore.
- With the installer: run the same command and choose Update to …. It also updates the ffmpeg package when there is a new one.
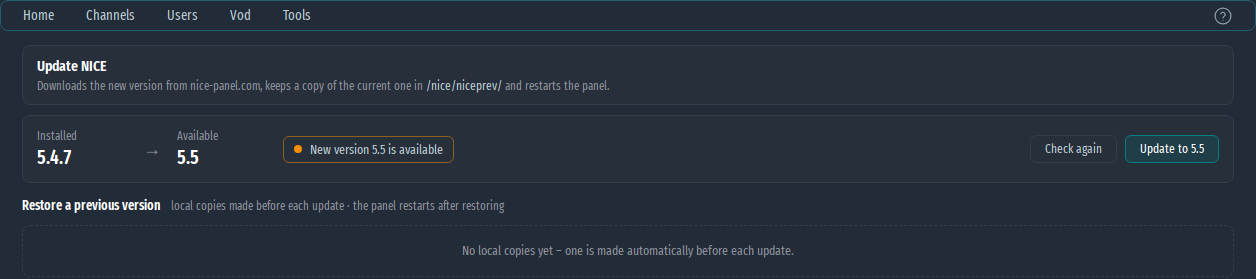
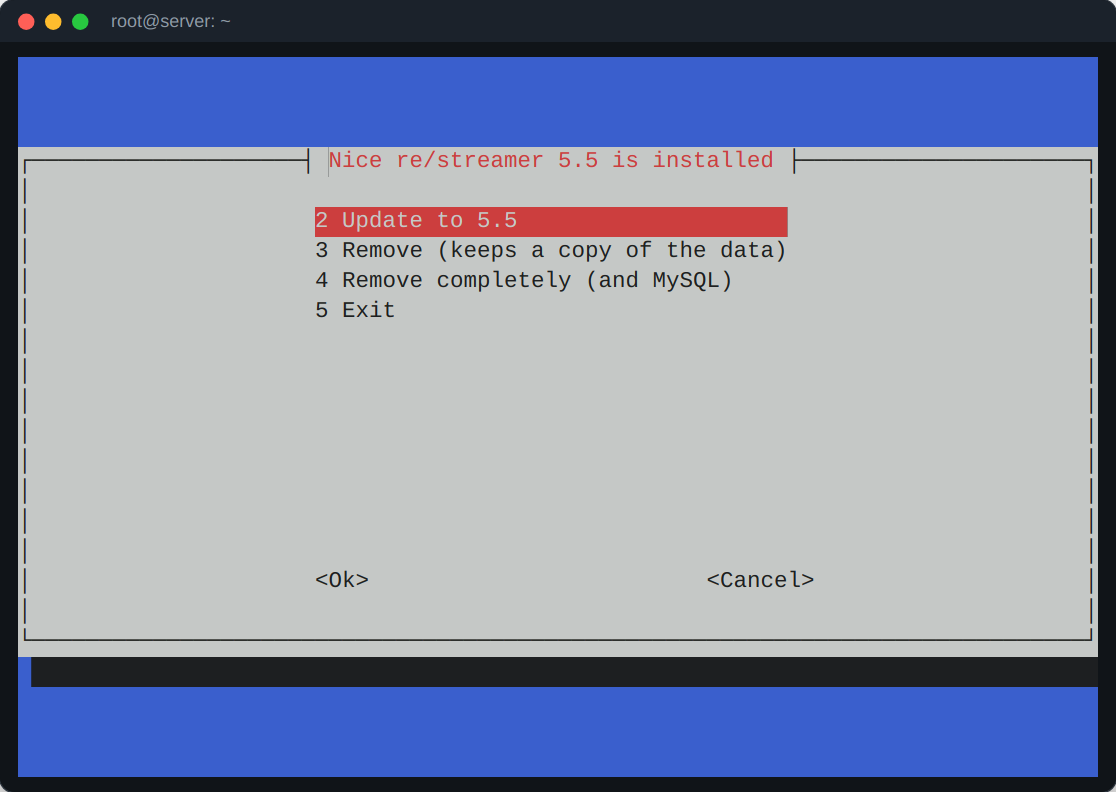
Settings, the database, the logs and your ffmpeg presets are never touched by an update.
Services
The panel and the recorder are systemd services – nice-restreamer and ndvr. One script controls both:
/nice/restream.sh start|stop|restart|status [panel|dvr]
/nice/restream.sh enable|disable [panel|dvr|all]
/nice/restream.sh ffmpeg list|auto|<build>   # the ffmpeg builds
After a crash systemd starts the panel again within seconds. “stop” affects only the panel and its own ffmpeg processes – other programs on the server are not touched.
FFmpeg builds
ffmpeg is a separate package with several builds in /nice/ffmpeg.d. The active one is chosen at installation: with an NVIDIA card – a build with NVENC that starts on the system, otherwise the standard static build. You can switch in Configuration → FFMPEG – see “GPU transcoding”.

4Remove
Run the installer and choose:
- Remove (keeps a copy of the data) – the database,
config.jsonand the backups are first copied to/root/nice-backup-<date>. - Remove completely (and MySQL) – also removes the MySQL server, if you confirm.
License
- The license is tied to the server (hardware) on its first activation.
- The demo (15 days) can be used once per server and e-mail. Demo installations are not supported.
- After a reinstall or a move to another server a paid license needs a hardware reset – request it by e-mail; it is done within 6 hours.
- Without a valid license the panel interface turns red.